Installing a ceiling fan is a great way to improve your home’s comfort and style. A well-installed fan can also save you money on your energy bills. But doing it yourself can be tricky – unless you follow this step-by-step guide!
We’ll walk you through the entire process, from choosing the right fan for your space to making sure it’s safely installed. So read on, and learn how to install a ceiling fan like a pro!
1. Why You Should Install a Ceiling Fan
Ceiling fans are a great way to improve your home’s comfort and style. They can help you save money on your energy bills, and they come in a variety of styles to suit any space.
If you’re thinking about installing a ceiling fan in your home, here are a few reasons to consider doing so:
Ceiling fan is a great asset to help you save money on your energy bills. (By circulating air throughout the room, they can help keep you cool in the summer and warm in the winter).
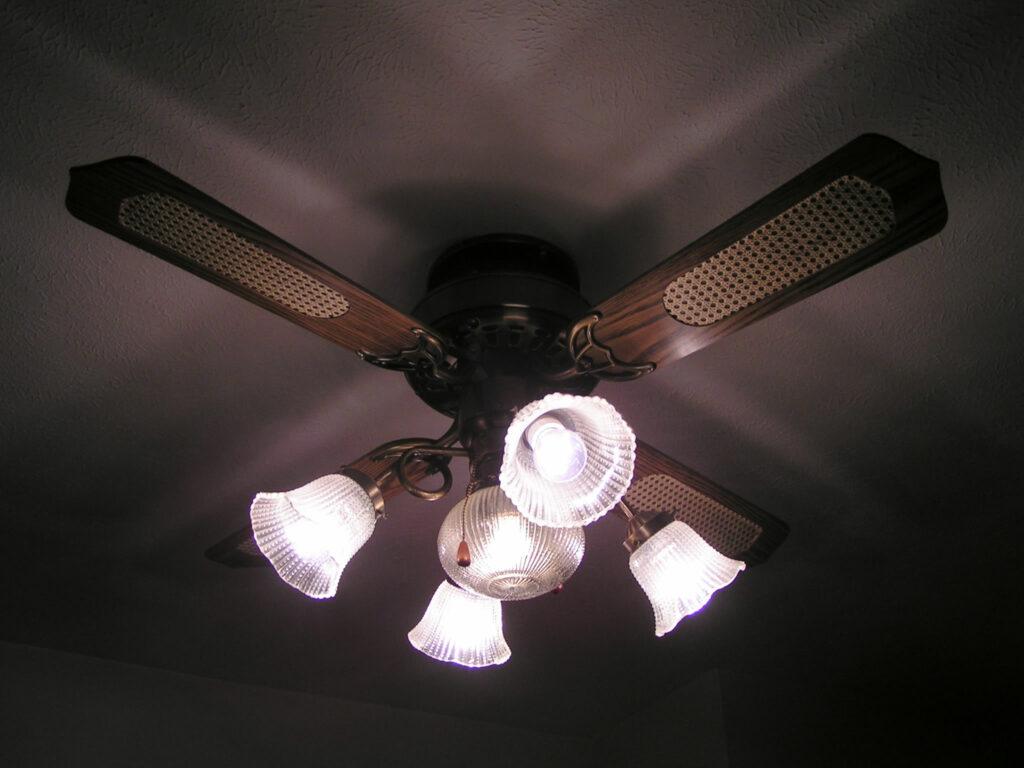
Ceiling fans come in a variety of different styles to suit almost any space. Whether you’re looking for a “traditional” fan or something more modern, there’s sure to be a fan that you will love.
Ceiling fans are versatile and can be used in both indoor and outdoor spaces.
If you’re convinced that a ceiling fan is right for you, let’s get to work.
2. How to Choose the Right Type of Fan for Your Space
The first step in installing a ceiling fan is to choose the right type of fan for your space. There are three main types of fans:
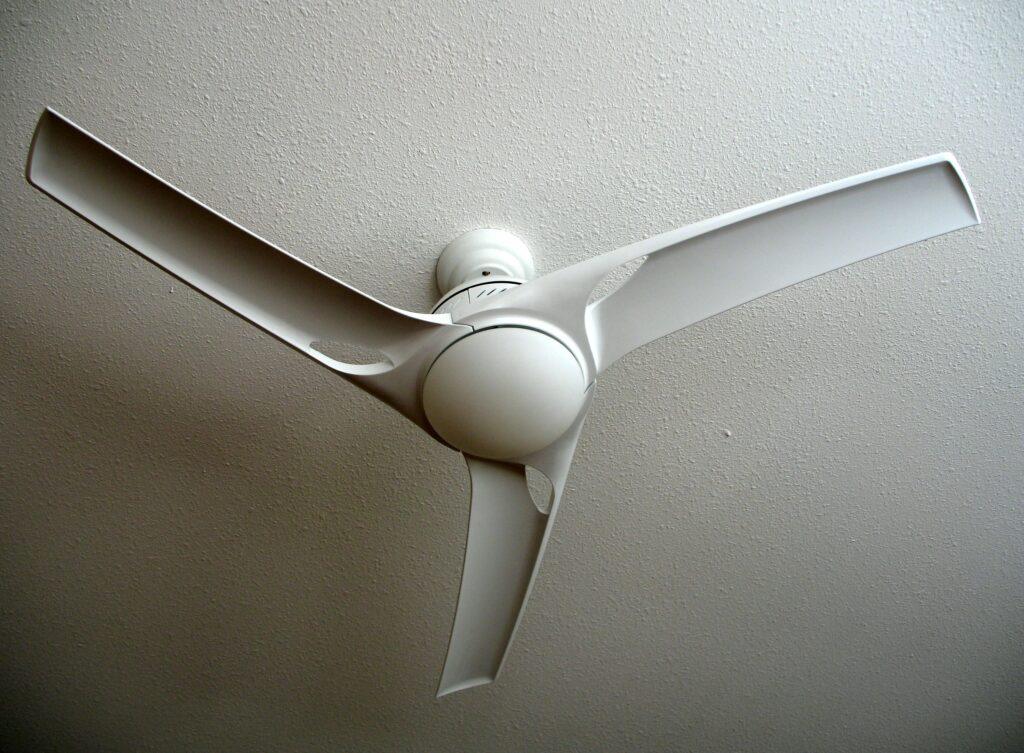
Standard Fans – These fans have blades that spin in a counter-clockwise direction. They are best suited for small to medium-sized spaces and are perfect for bedrooms and living rooms.
Hugger Fans – Hugger fans have blades that spin in a clockwise direction and are designed to be installed closer to the ceiling. Low-profile fans are suited for ceilings that are 8 feet tall or less. They are perfect for small spaces, such as bathrooms and kitchens.
High-Performance Fans – High-performance fans have more blades and spin at a higher speed than standard or hugger fans. They are ideal for large spaces, such as living or family rooms and master bedrooms.
Once you’ve determined the type of fan that you need, it’s time to start shopping! Be sure to measure the space that you want to install the fan in so that you buy the right size.
IMPORTANT: Always consult a professional before purchasing and installing a ceiling fan. Not all fans are made equal, and some may require more wiring than others.
Once you’ve selected the right fan, it’s time to start the installation process, but first let’s gather up the tools!
3. Tools and Materials You’ll Need
To install a ceiling fan, you’ll need a few basic tools and materials:
- Tape measure
- Pencil
- Level
- Ladder
- Drill
- Socket wrench
- Screwdriver
- Wire strippers
- Pliers
- Fan blades (if replacing old ones)
- Safety goggles
- Dust mask
- Ceiling fan kit (includes screws, anchors, wire connectors, and a circuit tester)
If you don’t have any of these items on hand, don’t worry – you can purchase it at your local hardware store.
Now that you’ve gathered all of the necessary tools and materials, let’s proceed with installation.
4. Installing Ceiling Fan
First, assemble the fan components on the floor according to the manufacturer’s instructions. All ceiling fans come with an assembly guide which will help navigate you in putting the fan together.
IMPORTANT: It is recommended to wear safety goggles and a dust mask when assembling the fan.
Now it’s time to make sure the power to the fixture is turned off. First, turn off the breaker associated with the existing light fixture (located in your electrical panel). After you’ve successfully located the specified breaker and switched it off, double-check if the old fixture is, in fact, powered off.
If the old fixture does not turn on as you flick the wall switch on\off, the power is disconnected. As an additional measure, you should always use a no-contact voltage tester (especially if you are not sure that the existing fixture works as intended)
Now that the power is turned off, it is time to take the old ceiling fan down.
Please note that if you planning on installing a ceiling fan that replaces a regular ceiling light fixture you will need to also install a brace to mount the fan between joists or install a fan-rated electrical box directly to a ceiling joist.
Now remove the old fixture. Most likely there are two screws on either side of the light that holds it in place. Once these screws have been removed, gently pull down on the fixture and it should come loose from the ceiling.
If there is any wiring still attached to the old fixture, disconnect it by using wire strippers to remove the insulation and then twist on the appropriate connector.
Now that the old fixture is gone, it’s time to install the new bracket. Start by attaching the mounting bracket that came with your fan kit to the electrical box in the ceiling using the bolts included.
Once the bracket is attached, it’s time to hang the fan motor\body on the new bracket, use manufacturer instructions to complete this step as every model is different.
Once the motor is attached, it’s time to connect the wires. This can be a bit tricky, so be sure to follow the instructions that come with your ceiling fan kit.
In general, you will need to connect the black wire to the black wire, the white wire to the white wire, and the green or bare copper wire to the green or bare copper ground wire.
Be sure to twist each connector tightly so that there is no danger of it coming loose over time.
If you’re unsure how to do any of this, consult a professional.
5. Securing the Blades
Now it’s time to attach the blades. This is a fairly simple process – just use the screws that come with your fan kit to secure each blade to the motor.
Be sure that each blade is evenly spaced and at the same height. You can use a level to help make sure everything is straight.
Once all of the blades are attached, it’s time to turn the power back on at the breaker box and test out your new fan!
That is it, it is all done! Enjoy your brand new ceiling fan and great sense of accomplishment!
Now that you have installed your new ceiling fan, be sure to read our blog post on how to clean and care for it.
Conclusion And The Summary
Here is the summary of the article if you don’t have time to go through all the details:
- Be sure to wear safety goggles and a dust mask when assembling the fan.
- Turn off the power to the fixture at the breaker box before beginning installation.
- Most likely two screws on either side of the light hold it in place – remove these screws and gently pull down on the fixture to remove it from the ceiling.
- If there is any wiring still attached to the old fixture, disconnect it by using wire strippers to remove the insulation and then twist on the appropriate connector.
- Attach the mounting bracket that came with your fan kit to the electrical box in the ceiling using the bolts included.
- Hang the fan motor on it, using manufacturer instructions to complete this step as every model is different.
- Connect the wires by following the instructions that come with your fan kit. In general, you will need to connect the black wire to the black wire, the white wire to the white wire, and the green or bare copper wire to the green or bare copper ground wire.
- Be sure to twist each connector tightly so that there is no danger of it coming loose over time.
- If you’re unsure how to do any of this, consult a professional. We would love to help you, just contact us for a quote.
- Once all of the blades are attached, be sure to test out your new fan!
Recent Posts
-
 Unlocking the Secrets of Appliance Installation for DIYers
 -
 Make the Most of Your Small Bathroom Space with Pocket Doors
 -
 Mastering the Art of Deck Staining: Real Pro Tips and Tricks
 -
 Choosing the Right Materials for Your Canadian Deck: Expert Advice and Recommendations
 -
 Don’t Skip This Step: The Importance of Professional Waterproofing in Bathroom Renovations